
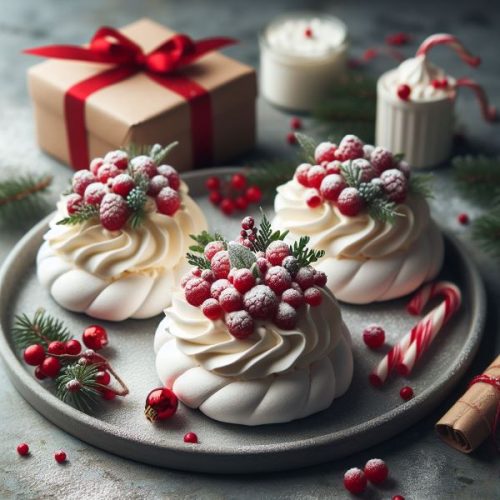
Tis the season to indulge in sweet delights, and what better way to spread holiday cheer than with Mini Pavlova! In this blog post, we’ll explore the magic of these bite-sized meringue nests, perfect for Christmas festivities.
Get ready to embark on a culinary adventure as we delve into the art of crafting these delightful treats.
The Origin of Pavlova
Before we dive into the mini version, let’s take a moment to appreciate the history of Pavlova. Named after the legendary Russian ballerina Anna Pavlova, this meringue-based dessert is known for its crisp exterior and marshmallow-like interior.

Traditionally, Pavlova is a showstopper at celebrations, and its mini adaptation is no exception.
Why Mini Pavlova for Christmas?
Christmas is a time for joy, and what better way to spread that joy than with Mini Pavlova? These bite-sized wonders are not only visually appealing but also customizable to suit the festive theme.
Whether you’re hosting a holiday party or looking for a delightful treat to share with loved ones, Pavlova is the answer.
Ingredients for Mini Pavlova
Let’s gather our culinary troops and assemble the ingredients for this Christmas treat. You’ll need egg whites, sugar, vanilla extract, cornstarch, and a dash of vinegar.
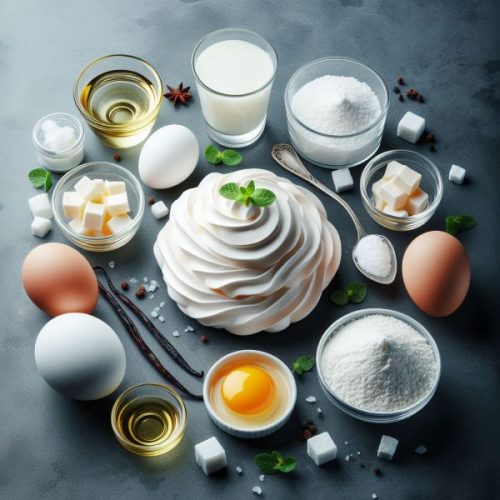
These simple yet essential components will come together to create the perfect meringue base for your Pavlova.
The Art of Whipping Egg Whites
Whipping egg whites to the right consistency is crucial for the success of your Mini Pavlova. Channel your inner pastry chef as you beat the egg whites into stiff peaks.
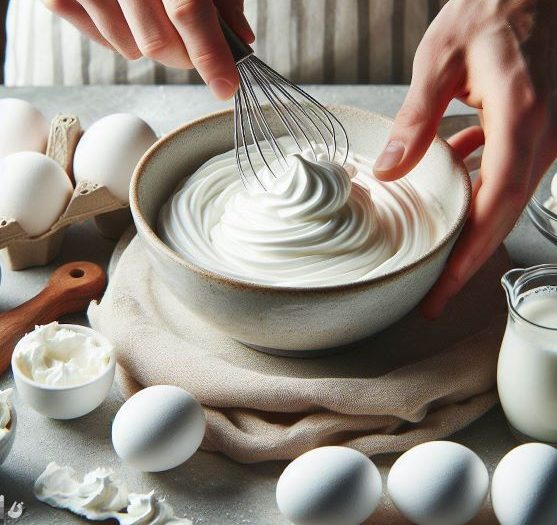
This step is where the magic happens, transforming the humble egg whites into a cloud-like structure that forms the foundation of our festive creation.
Shaping Mini Pavlova Nests
Once your meringue mixture is ready, it’s time to shape these delightful nests. Using a piping bag or a spoon, create small, nest-like shapes on a baking sheet.
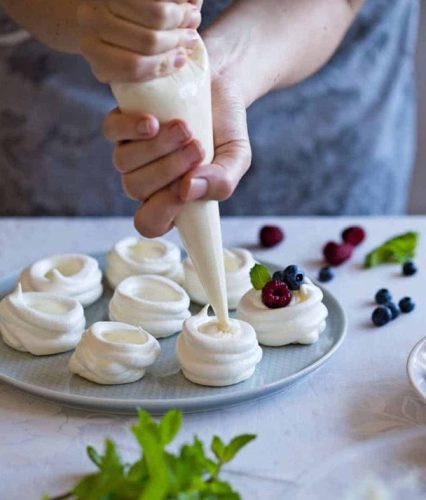
The beauty of Pavlova lies in their individuality – each one is a work of edible art.
Baking to Perfection
Pop your Mini Pavlova nests into the oven and let the magic unfold. The low and slow baking process is key to achieving that perfect crisp exterior and soft, gooey interior. As the aroma of baked meringue fills your kitchen, you’ll know that something delightful is in the making.
Mini Pavlova for Christmas Delight: A Sweet Festive Treat
6
servings20
minutes40
minutesIngredients
4 large egg whites, at room temperature
1 cup granulated sugar
1 teaspoon white vinegar
1 teaspoon vanilla extract
1 teaspoon cornstarch
A pinch of salt
Toppings:
Whipped cream
Fresh fruits (berries work great!)
Mint leaves for garnish
Directions
- Preheat your oven to 300°F (150°C) and line a baking sheet with parchment paper.
- In a clean, dry bowl, beat the egg whites with a pinch of salt until stiff peaks form.
- Gradually add the sugar, one tablespoon at a time, while continuing to beat the egg whites.
- Once all the sugar is added and the mixture is glossy, fold in the vinegar, vanilla extract, and cornstarch.
- Spoon dollops of the mixture onto the prepared baking sheet, creating mini nests.
- Bake for about 45-50 minutes or until the pavlovas are crisp on the outside.
- Allow them to cool completely before removing from the parchment paper.
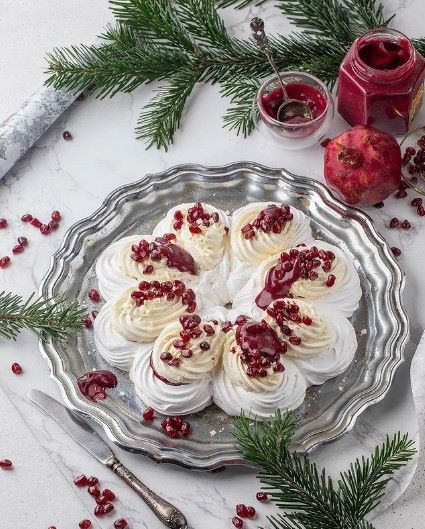
- Just before serving, fill the mini pavlovas with whipped cream and top with fresh fruits. Garnish with mint leaves.
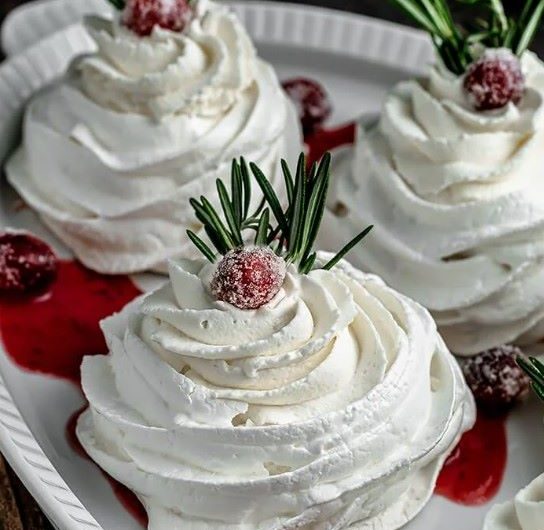
Festive Toppings and Decorations
What’s a Mini Pavlova without a generous topping of festive delights? From fresh berries and mint leaves to a drizzle of chocolate or a sprinkle of edible glitter, let your creativity shine as you decorate each Pavlova with the colors of Christmas.
Tips and Tricks for Success
As with any culinary venture, a few tips can make all the difference. Avoid making Pavlova on a humid day, as moisture can affect the crispness of the meringue. Additionally, ensure that your mixing bowls and utensils are completely grease-free for optimal egg white whipping.
Mini Pavlova as a Gift
Spread the joy of Christmas by packaging your Mini Pavlova in festive boxes or jars. These sweet treats make for excellent edible gifts, adding a personal touch to your holiday presents.
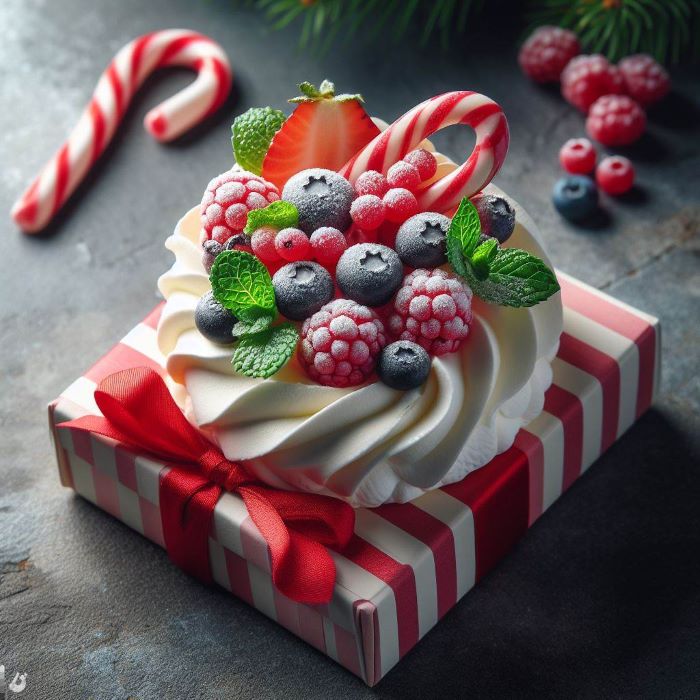
Share the love with friends, family, and neighbors, and let the Pavlova become a symbol of your festive spirit.
Conclusion
In conclusion, Mini Pavlova for Christmas is a delightful journey into the world of sweet indulgence. From the first crack of the crispy exterior to the luscious, melt-in-your-mouth center, these bite-sized treats are sure to bring smiles and holiday cheer.
So, roll up your sleeves, preheat the oven, and let the Pavlova magic begin – a perfect way to sweeten up your Christmas celebrations!


